YouTube Membership
Support the channel directly and help fund future reviews, projects, and experiments.

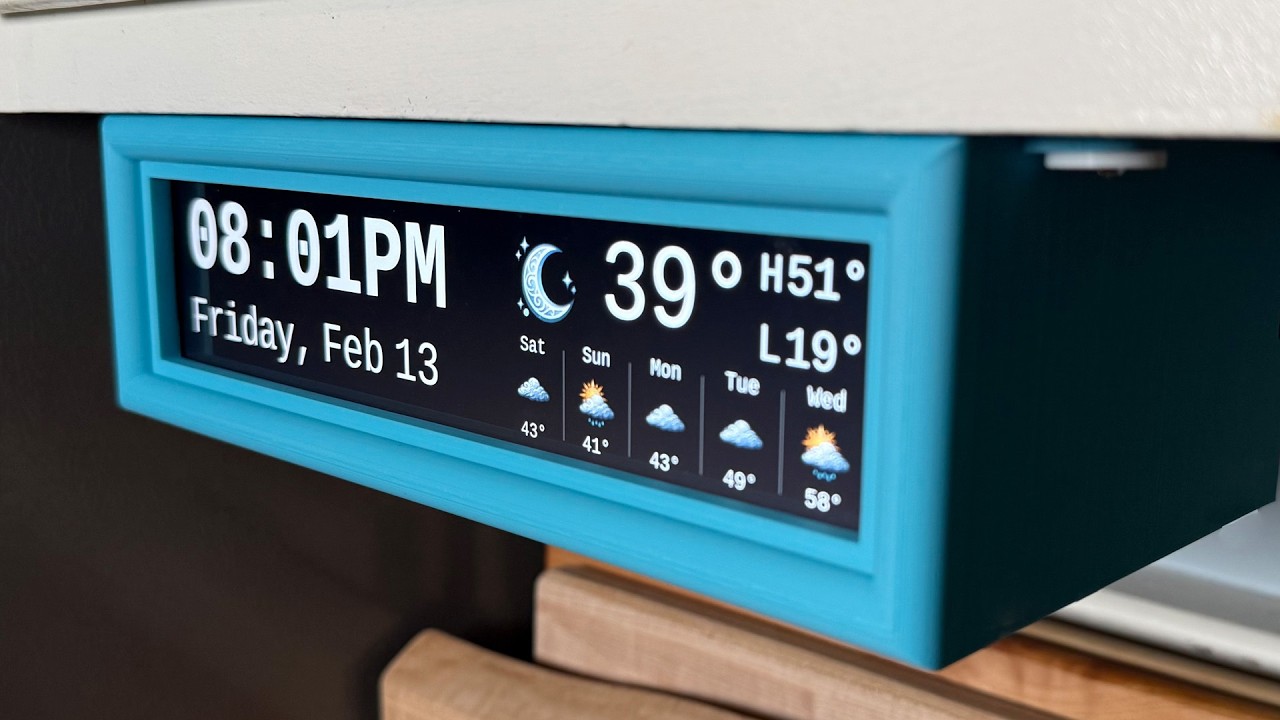
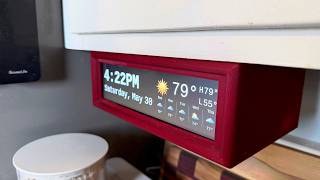
I replaced my old under-cabinet kitchen clock with a DIY Raspberry Pi smart display that shows the time and weather at a glance.
Here’s how to build your own under-cabinet Raspberry Pi clock and weather display.
When I bought my house, it came with one of those under-cabinet radio clocks that somehow survived the early 2000s. It technically worked… until power outages and daylight saving time reminded me it absolutely did not.
So I replaced it with something better.
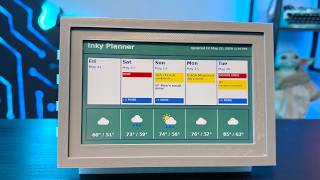
This DIY smart home display runs on a Raspberry Pi, uses an affordable ultra-wide screen, and is designed to live under a cabinet so it’s always visible but never in the way. No touchscreen. No voice assistant. No app. Just the time and weather when you glance up.
The best part? You can build one too.
This project uses a simple install script, a 3D-printed case, and modular weather icons and backgrounds so you can customize the look to match your space. It supports both Raspberry Pi OS Bookworm and Trixie.
EDIT FURTHER NOTE: I've had lots of reports of the Wisecoco screen arriving defective, which really sucks. The following is an alternative touchscreen with slightly different dimensions that is confirmed as working. I've created an alternative 3D print for to fit it as well.
Notes on potential Raspberry Pi options:
Raspberry Pi Zero 2 W (Bookworm only, 64-bit recommended)
- Not recommended for Trixie (Wayland)
- Requires a different HDMI adapter and a dedicated power supply for the display
Raspberry Pi 3B ((Bookworm only, 64-bit recommended)
- Probably will run, probably will be sluggish
This video covers a DIY Raspberry Pi clock, under-cabinet smart display, Raspberry Pi weather display, smart home dashboard, and a wall-mounted or cabinet-mounted clock project you can build yourself.
If you build one, I’d love to see it — tag me or share photos in the comments!
Subscribe for more practical DIY tech and smart home projects.